

![]()
Pie season is here! Apple, pumpkin, pecan… not only are these things seasonal, but the heat of the oven and the buttery, spicy smells of a pie baking are so comforting during the cool and cold seasons of fall and winter. When I make a pie, as I did this day, I like to play — it looks messy but it is so much fun! Between the fun, the smells, and the taste, I was in pie heaven!
Have you noticed that eye-catching food seems to taste better to people? Pies are no exception. I have had some of the most ordinary recipes get rave reviews when I’ve decorated the exact same thing that I had cooked or baked in the past! Go figure ;)

![]()
So this fall, plan to make your pies look special, fun, and even colorful — they’ll be noticed, admired, and complimented even more than usual. This is the first of at least two techniques for speedy and simple pie crust garnishes I’ll be bringing you in the next couple weeks. Get out your rolling pins and let’s get messy busy!
I believe in made-from-scratch pie crust. Whether you use shortening or butter, it just tastes better. Once you’ve made a couple of no-pressure, just-because pie crusts and pies you will agree with me that pie crust can be easy. Here’s an encyclopedic blog post of mine on making scratch pie crust that will clue you into the mysteries and tricks of mastering a basic crust. Start playing now!
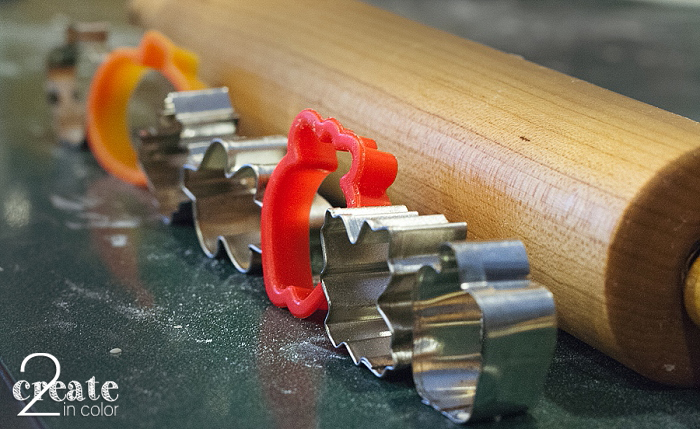
However!!! If you choose to use packaged pie crust, I will forgive you ;) Whatever your pie crust style is, you just need to reserve the scraps. Scraps are where it’s at for pie crust art. Scraps, and mini cookie cutters if you have them.
![]()
Today’s pie crust decorating technique is “sprinkle, cut, and bake” — I call them pie crust appliques, just like those little embroidered patches you can put on kids’ jeans or a tote bag to jazz them up. You can get a lot of pizzazz onto your pies pronto with this method. I especially like this method because I can get the pie in the oven, and then mess around creating the decorations. Less pressure!

![]()
Step 1: Roll your pie crust scraps a little thinner than used for the actual crust. Mend any tears by moistening the torn edges with a wet fingertip and then overlap the edges, pressing them gently together. Keep your work surface underneath and your rolling pin lightly rubbed with flour.
Step 2: If the pie crust surface has dried out, spritz or rub lightly with water and let stand until you cannot see wet spots — just a couple minutes at most.
![]()
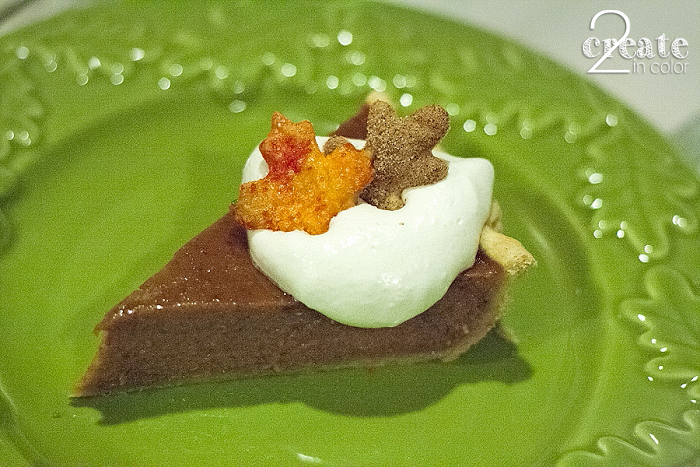
Step 3: Sprinkle on your coloring product: colored sugars or cinnamon sugar (the brown oak leaves you’ve seen were sprinkled with cinnamon sugar). Candy decorations (jimmies, or the tiny balls) are hit and miss for turning out pretty, so I stick with what I know works which is the colored sugar and cinnamon sugar (3 parts sugar, 1 part cinnamon.)
Step 4: Make it stick: ususally I press the sugar into the pie crust by rolling lightly with my rolling pin across it, just once. You don’t want to make the crust too thin.
Alternately, you can spritz or drip water onto the sugar to blend multiple colors for a different look. That’s what I have done for the multi-color maple leaves I will be cutting.
![]()
Step 5: Using a sharp thin-bladed paring knife and/or mini-cookie cutters, cut out your shapes. I love using an assortment of leaves in the fall, but I almost always mark the tops of my apple pie crust with apple cut-outs, whether they are colored with sugar or not. I’ll talk about that variation, where your decorations are baked right onto the pie, next time!
![]()
![]()
Step 6: Transfer the cutouts to a foil lined baking sheet. Bake at 350F for 6-12 minutes, checking every 2 minutes after the 6 minute mark, preferably without opening the oven door. Variations in oven temps, but especially in pie crust thickness, make the baking time different every time! When just a hint of golden color begins to show on the edges, remove them. Let stand for about 5 minutes to cool.
![]()
Step 7: Arrange on your pies as you wish! Get creative!
![]()
Happy baking!
Gail


.jpg)