In this month’s Food & Wine magazine (Sept ’12), we are offered a “cheater” cheesecake recipe – their term. The whole recipe collection is based on what you can do with three main ingredients. For this cheesecake, all you need is chocolate wafers, cream cheese, some water and “1 cup chocolate syrup, such as Hershey’s.”
With so few ingredients, each one’s flavor will play a big part. Why would we use mega-mass-produced chocolate syrup whose taste is so familiar and ordinary to most Americans?
I have the solution.
My own recipe for a rich and complex chocolate fudge syrup.
I created this chocolate topping several years ago after becoming utterly bored with Hershey’s syrup and basic chocolate syrup recipes. If we can make incredible chocolate frostings, why can’t we make fantastic chocolate syrups? We buy expensive, decadent ice cream, and top it with syrup from a gallon jug? I think not.
I settled on a combination that made my tastebuds happy when put on top of vanilla ice cream. It is always deliciousl, including straight off the spoon! This recipe can be made as a syrup, or with an extra 4 minutes on the stove, a thick fudgy topping that heats up perfectly for all your hot fudge needs! It’s subtly different; it’s definitely better!
One of the keys to making chocolate syrup with something new to offer your tastebuds is to get some different cocoa powder. Why skip the Hershey’s bottle and reach for the Hershey’s cocoa powder? Exactly.
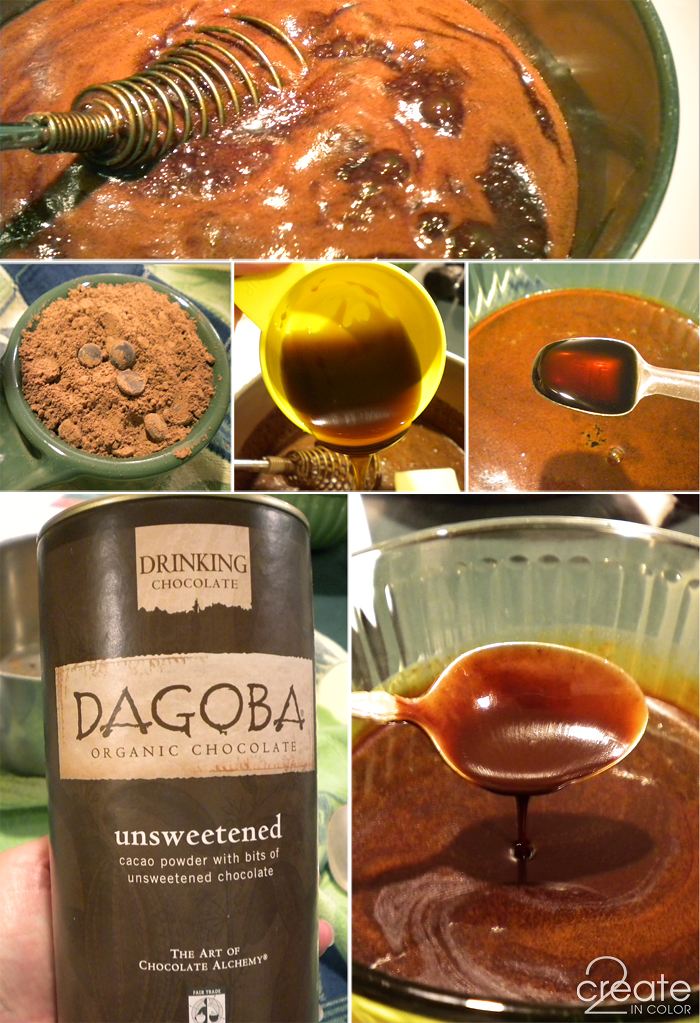
I’ve tried Droste cocoa powder, but just like acidic coffee, its sharp acidity is not my favorite. Ghiradelli? Good, but not significantly different. We’ve gotten the 5 lb bag of cocoa powder from Costco, and it’s different enough to be interesting, but still just “good”. My favorite right now is Dagoba Drinking Chocolate. It is a cocoa powder processed especially for hot chocolate, with tiny pastilles of solid chocolate just hanging out inside the canister *grin/eyebrow wiggle* mmmmmm!
You will also want a tasty real vanilla extract, and salt without iodine if you can.

Once I got to thinking along these lines, nothing would do than performing a taste test of this cheesecake recipe – take a look here. I would make half with Hershey’s Chocolate Syrup as called for, and the other half with my own homemade Chocolate Fudge Topping. Since there are only 3 of us at my house, I wasn’t going to make two whole recipes!
I divided the cream cheese into two bowls, beat it until fluffy (and beyond), added the 1/2 cup chocolate syrup, one kind to each bowl, along with 2 Tbsp water. Beating again for 2 minutes resulted in a surprisingly silky smooth texture! I was curious to find out what it felt like in my mouth after the wait time was complete.
The third ingredient called for is Nabisco Famous Chocolate Wafers. Those things are expensive! If I can’t find a copycat recipe out there, I’m going to create one! I’ve substituted a variety of things for them in the past, but this time I actually needed chocolate wafers.
So, after getting on my high horse about the mass-produced ho-hum chocolate syrup, I cheaped out and bought store brand oreos. Yup. And I took out the frosting. Mm-hm. Ridiculous, right? Well, this is an experiment with chocolate syrup, and $11 of cookies wasn’t gonna happen. As long as the same cookies and cream cheese are used for both halves of the dessert, we’re in the happy place for experiments.

My husband, an Oreo devotee, had a good laugh when he saw what I’d done with the cookies. Then he proceeded to add extra frosting to a few unmutilated cookies for a snack. DIY double-stuffed.
Three-ingredient Icebox Chocolate Cheesecake assembly goes like this: chocolate wafer layer, cream cheese layer, repeat 3 more times, top with wafers, wrap and refrigerate 8+ hours. I did 1 less layer since my faux-wafers were thicker.
I did both versions in the same pan, which I prepared with plastic wrap, a trimmed-down cake board, and another layer of plastic wrap to facilitate removing the dessert from the pan. You know how Sam recently walked on the Great Wall of China? I made a Great Wall ~in~ Cheesecake to divide the pan in two: a full sheet of cardstock folded in half, slots cut near each end for the pan’s sides, cover with foil, wedge across pan… not elegant but totally functional! (see picture) Getting creative in the kitchen!

After it had chilled in the refrigerator for about 8 hours, I took out the divider and turned it upside down on a plate. I didn’t coat the sides with cookie crumbs as the recipe called for, but it would be a nice look for serving and add a bit of crunch. It cut nicely with a hot knife (before each cut, dip knife in tall container of hot water, wipe dry.)
The results of the taste test, and evaluation of the Icebox Chocolate Cheesecake recipe? In general, the tang of the cream cheese is more dominant than in a baked cheesecake where it is mellowed with eggs. The cookies become cake-like with the moisture from the filling and add chewy texture, and the filling retains the silkiness I noticed when beating the ingredients.
And the chocolate flavor? There was a definite difference. In the Hershey’s side, the cream cheese almost overwhelmed the chocolate — very tangy. On my side, the flavors blended far better into a nice smooth chocolaty whole. We liked the side with my chocolate sauce best!
Gail’s Homemade Chocolate Fudge Topping
3/4 cup unsweetened cocoa powder
1 1/4 cup white sugar
1/8 tsp salt
1/2 cup hot water (faucet hot, not boiling hot)
1/3 cup DARK corn syrup (Karo)
1/4 cup real butter (1/2 cube)
1/2 tsp vanilla extract
In a heavy-bottom 2 qt saucepan, stir together cocoa, sugar, and salt. Stir in hot water until combined. Add corn syrup and butter, then place on stove over medium-high heat.
Bring to a full boil, stirring constantly and scraping down sides of pan once. Immediately reduce heat, then maintain a low boil and cook without stirring for 1 minute (syrup) to 5 minutes (fudge topping.) NOTE: Electric stove users may have to move pan off and on the burner until it cools enough to maintain the low boil.
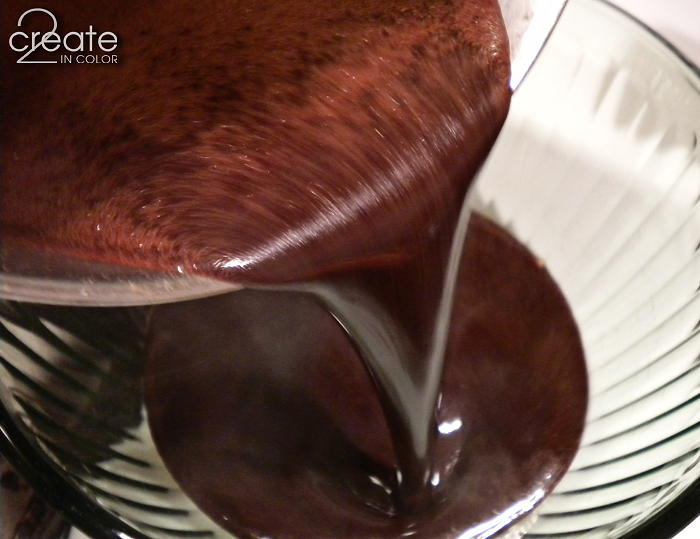
Pour into a heat-proof container such as a Pyrex bowl. Stir in vanilla. Don’t forget this step!
Let cool to desired temperature, at least 15 minutes. It won’t thicken up until chilled; then it will behave like a hot-fudge topping when reheated.

My Homemade Chocolate Fudge Syrup/Topping is the way to go if you are bored with everyday chocolate sauces. Hope you take the time to try it for yourself!
Gail


.jpg)
Kathy - Wow Gail! I enjoyed reading this post. I look forward to trying your chocolate sauce.08.19.2012 – 12:51pm